I have been to Hong Kong Bistro at the Seattle Chinatown many, many times and have never thought about writing a review about. But today, I decided to flex my typing muscles and “write” my first review!
I grew up in Hong Kong and I do miss my comfort food from time to time. My craving has been getting stronger these days! Hong Kong Bistro has been the restaurant of choice when I want comfort food, especially so after a hard day at work. After finishing my work weekend, Ben took me to Hong Kong Bistro as my reward! 🙂
On top of all the selections in the menu, there are also dishes posted on the wall, which can be overwhelming. We always seem to order the same dishes over and over again, which include Singapore fried noodles, beef chow fun, and steam beef ball. (that’s right! they have it all-day! :D) But this time around, we decided to mix it up a little, ordering some of our usual and some that we had never ordered before.
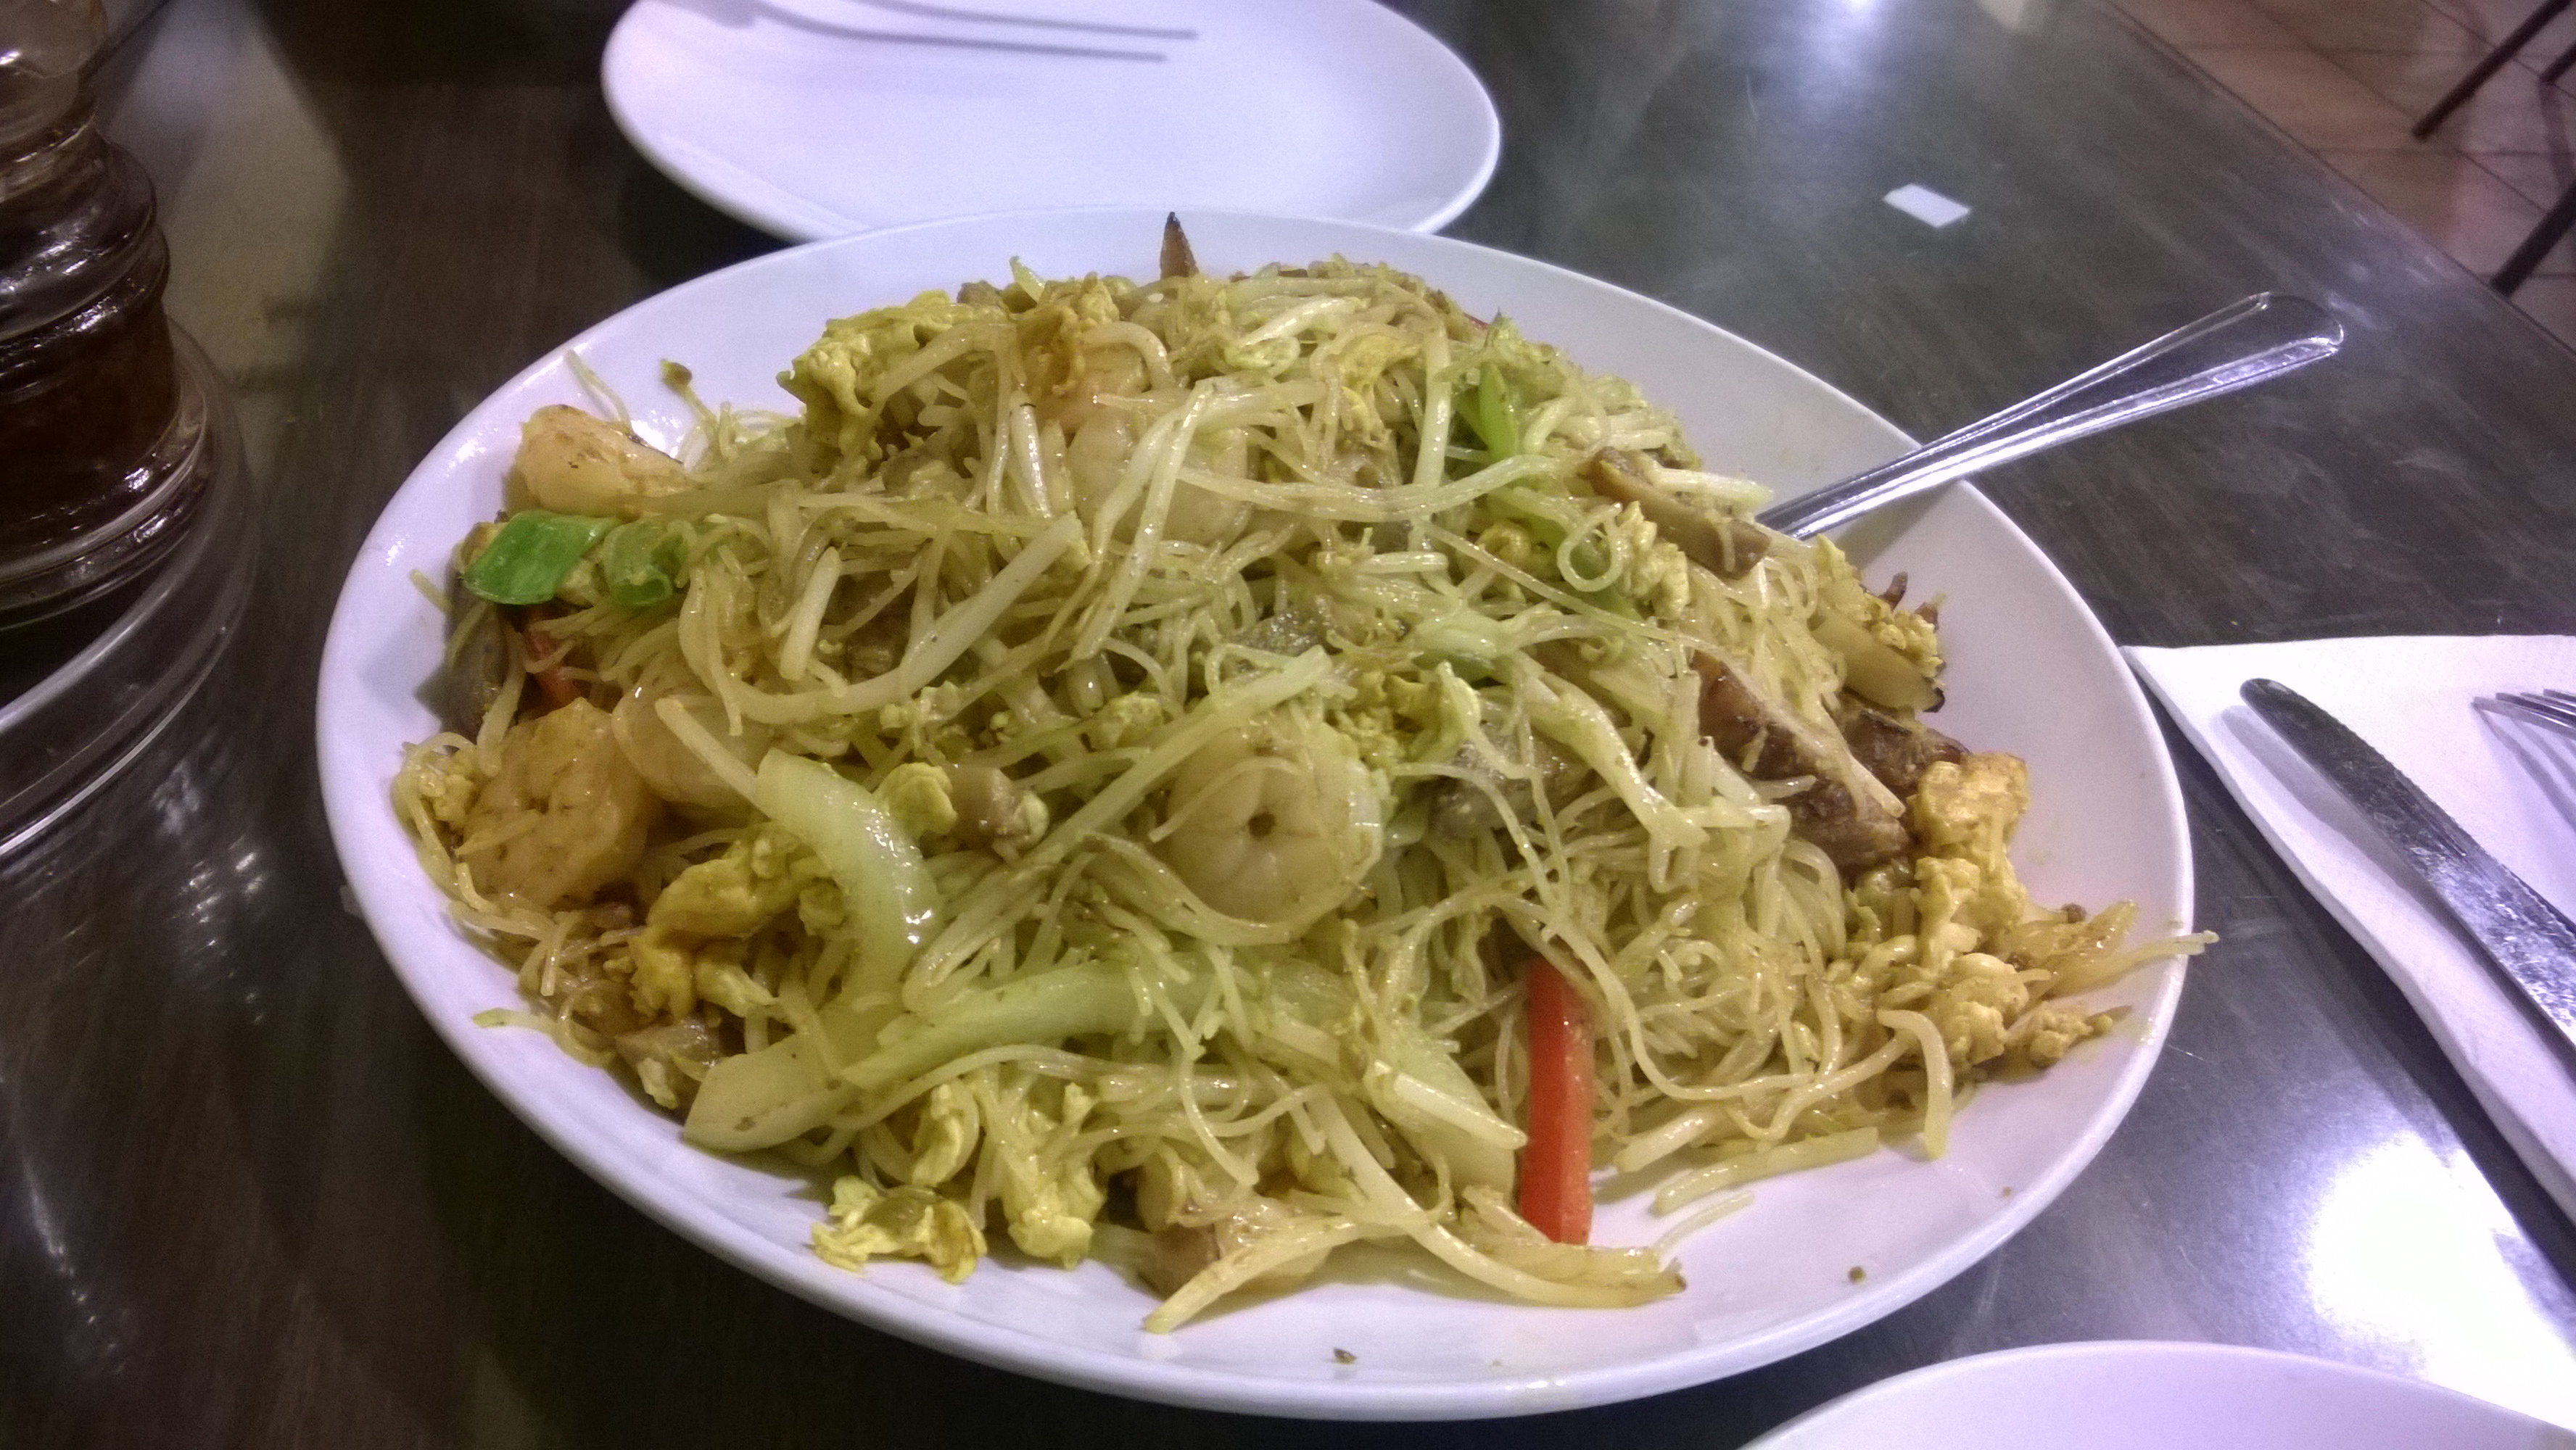
Singapore Fried Noodles
 It was a classic Hong Kong style Singapore Fried Noodles, meaning curry was used in cooking them. (I actually didn’t know until my friend, Charlene, told me about it. She is a big-time foodie! I am really no comparison to her. Check her blog out! The web address is http://doofniks.com).
Besides rice noodles, there were also onion, bell pepper, bean sprouts, eggs, shrimps, and Chinese BBQ pork. The dish has the right “humidity” to it: not too wet and not too dry. Rice noodles were not brittle. It also has a little spiciness to it, but not too overwhelming.
This dish is complicated enough to try to make it at home for me so I will pay the price to get a good one in a restaurant. And this one from Hong Kong Bistro just hit the spot! Overall, it has always been very consistent with the quality every time I had it here. I love it!
Grilled Mixed Steak (Beef, Pork, and Chicken) with Pan Fried Egg
 It served with three types of meats, a hotdog sausage, and a small portion of veggies on a hot sizzling pan with your choice of sauce, which I went with black pepper sauce. It was topped with an easy over egg.
Ben pointed out that this dish is “western” style but it’s definitely a Hong-Kong-invented dish as he has never seen something like this elsewhere. I guess it is a Specialty in Hong-Kong-run western style restaurants! 🙂
Pork Chop and chicken filet (dark meat) were very good but the beef steak was on the tough side. The sauce was just a little on the salty side for me. (but Ben has been telling me it’s because of my reduced salt intake but it was okay with him)
I love eggs and this one did not disappoint!
I like this dish but not as much as Singapore Fried Noodles. But overall, it was not too bad! If I order this again, I will stick with the chicken filet and pork chop.
Pan Fried Chives and Shrimp Dumplings
 It is always the best when it’s fresh! Since we were ordering for dinner, it was made to order!
It was crunchy on top. Contents inside the dumpling tasted great: a good mixture of chives and shrimps with the right saltiness. If I really have to pick something that it could improve, the wrapping was a little thick. (Jade Garden wins here :)) It is another great dish!
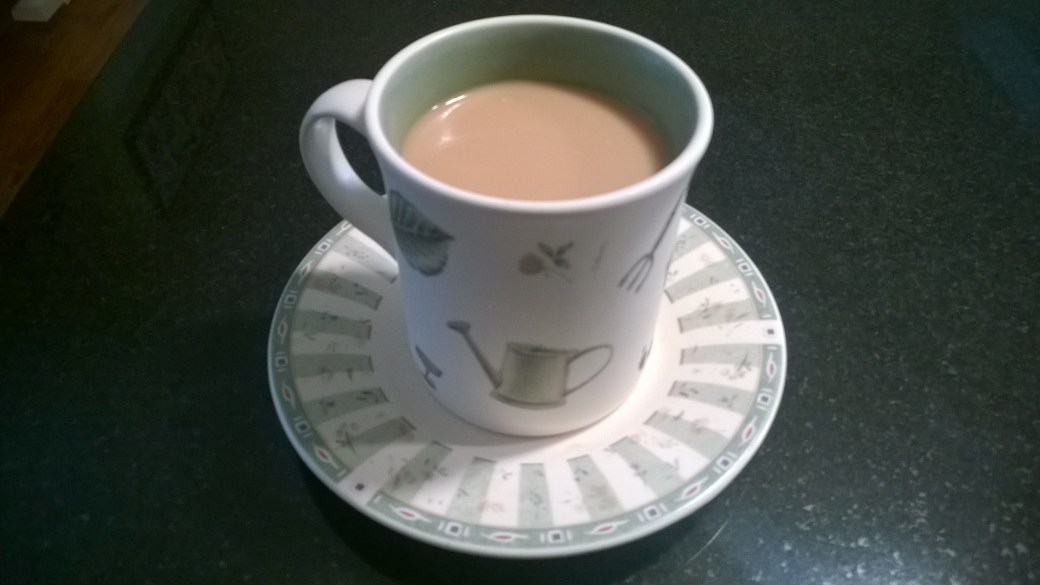
Hong Kong Style Milk Tea
 I have tried to make this at home many, many times and have never been able to get it close to what I have in Hong Kong! With a little research, I learned that it is some what of a trade secret. All businesses get their tea supply from the supplier(s) that have a specific blend of tea from Sri Lanka, which are called Ceylon Tea (When Sri Lanka was a British Colony, it was named Ceylon). Besides tea, the proportion of evaporated milk (or milk, or mixture of both) is an art.
Anyway, this cup had satisfied my craving! 🙂
If I am successful in making it at home, I will certainly share with you! 🙂
Alright, that’s my first review of a restaurant. Until next time, keep on eating!